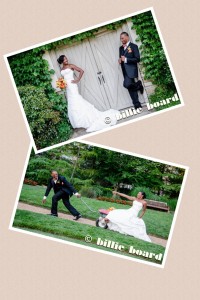

First off, I would just like to say that I absolutely adore this couple and their story. Asha and Melvin are truly a match made in heaven, growing from best friends to husband and wife! Being in their presence sparks a positive energy, filled with contagious laughter.
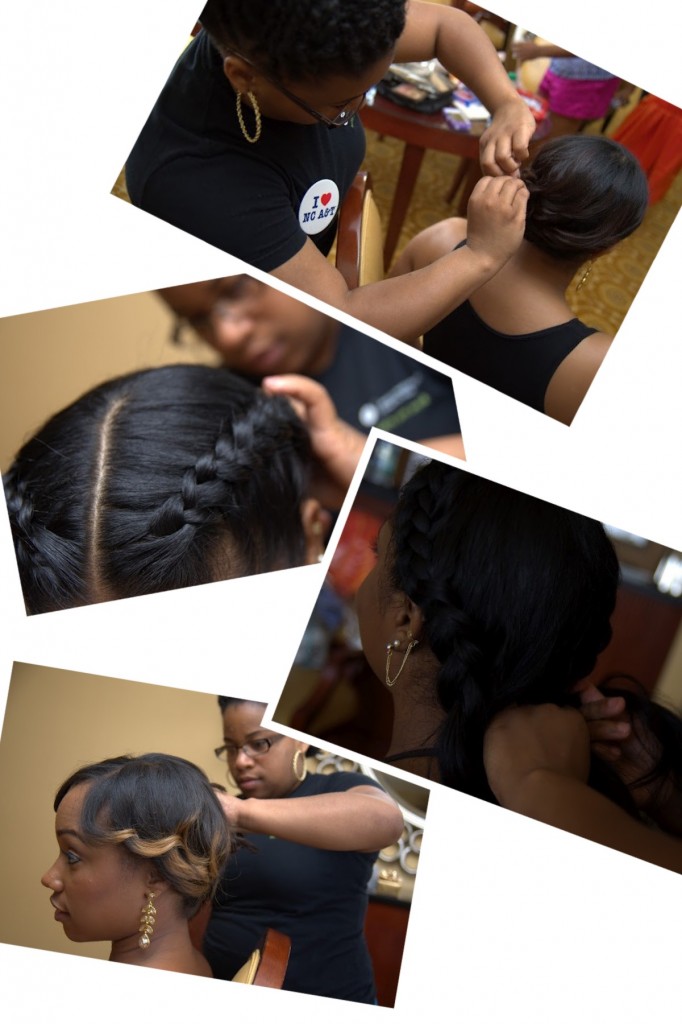
I have known Asha for quite some time so when she asked me to style her hair for her wedding I was more than happy. Due to her busy travel schedule and us being in two different states made it a little more challenging to finalize a consultation date; but we did! Once we met up for the consultation I was able to listen to what she wanted, help her brainstorm hair ideas, offer my own professional feedback and conclude on a style we were both confident with.
The day of the wedding I arrived on site in Atlanta, GA ready to make it “do what it do”!! My adrenaline was racing and I was focused. I had the opportunity to work beside a very talented make-up artist, Tanya Clark of AboutFaces Artistry. Tanya and I were both on point and in the zone styling bridesmaids and making the bride look gorgeous. From beginning to end this was a top notch wedding all planned by coordinator Jan McBee of La Fete Weddings and Events. The photographer, Billie Board of Billie Board Photography, did an excellent job capturing all the important, funny and priceless memories for both Asha and Melvin to look back on years to come. The overall experience was definitely one to remember.
Thanks Asha for having me a part of your special day!
If you are interested in achieving this bridal look start by placing a low side part at the top of the head (part may be placed on either side). Section the hair from the back of the part down to the farthest ear. Pin the isolated hair out of the way and smooth the remaining hair into a low side pony tail. The pony tail should be gathered over to the side of the head where the isolated hair was parted to the ear. Apply a light cream pomade and/or serum to the base of the pony tail to add shine and eliminate stray hairs.
After the pony tail is in place, take down the hair previously sectioned and do a dry set with medium rollers. A dry set is when you do not saturate the hair completely but you damp the hair with water and diluted setting lotion just enough to temporarily break the hydrogen bond in the hair. Apply all rollers “on base” going in the direction down toward the ear. Allow to dry under a hooded dryer for about 20-25 minutes. Once dry, remove the rollers and apply small double prong and/or pin curl clips to hold the curls in place while you construct the bun.
Add four or five big marcel curls to the hair hanging from the pony tail, this will help the hair work with you instead of against you when it is time to shape the bun. Take sections of the hair hanging from the pony tail and begin to gently back comb the hair. I used naturally tightly curled weaving hair to stuff the bun; others may use a sock or a pre-constructured “donut” from the beauty supply store, it just depends on your preference. Wrap the sectioned hair around the weaving hair beginning at the ends with the back combed hair facing toward the head. Using hair pins, secure the bun neatly in place. Be sure the weaving hair is evenly distributed and covered so your bun will look nice and round.
After the bun is secured, remove the clips holding your curls in place. Gently blend the hair with a vent brush and/or wide tooth comb. You don’t want to remove all the volume you just created so use as little tension as possible. Take the end of the section and neatly twist the hair. I did a loose two strand twist so it can be pinned around the base of the bun. Apply a generous amount of an aerosol holding spray and if desired, add some hair jewelry for that special touch.


Your post, The Ushery Wedding, is really well written and insightful. Glad I found your website, warm regards!